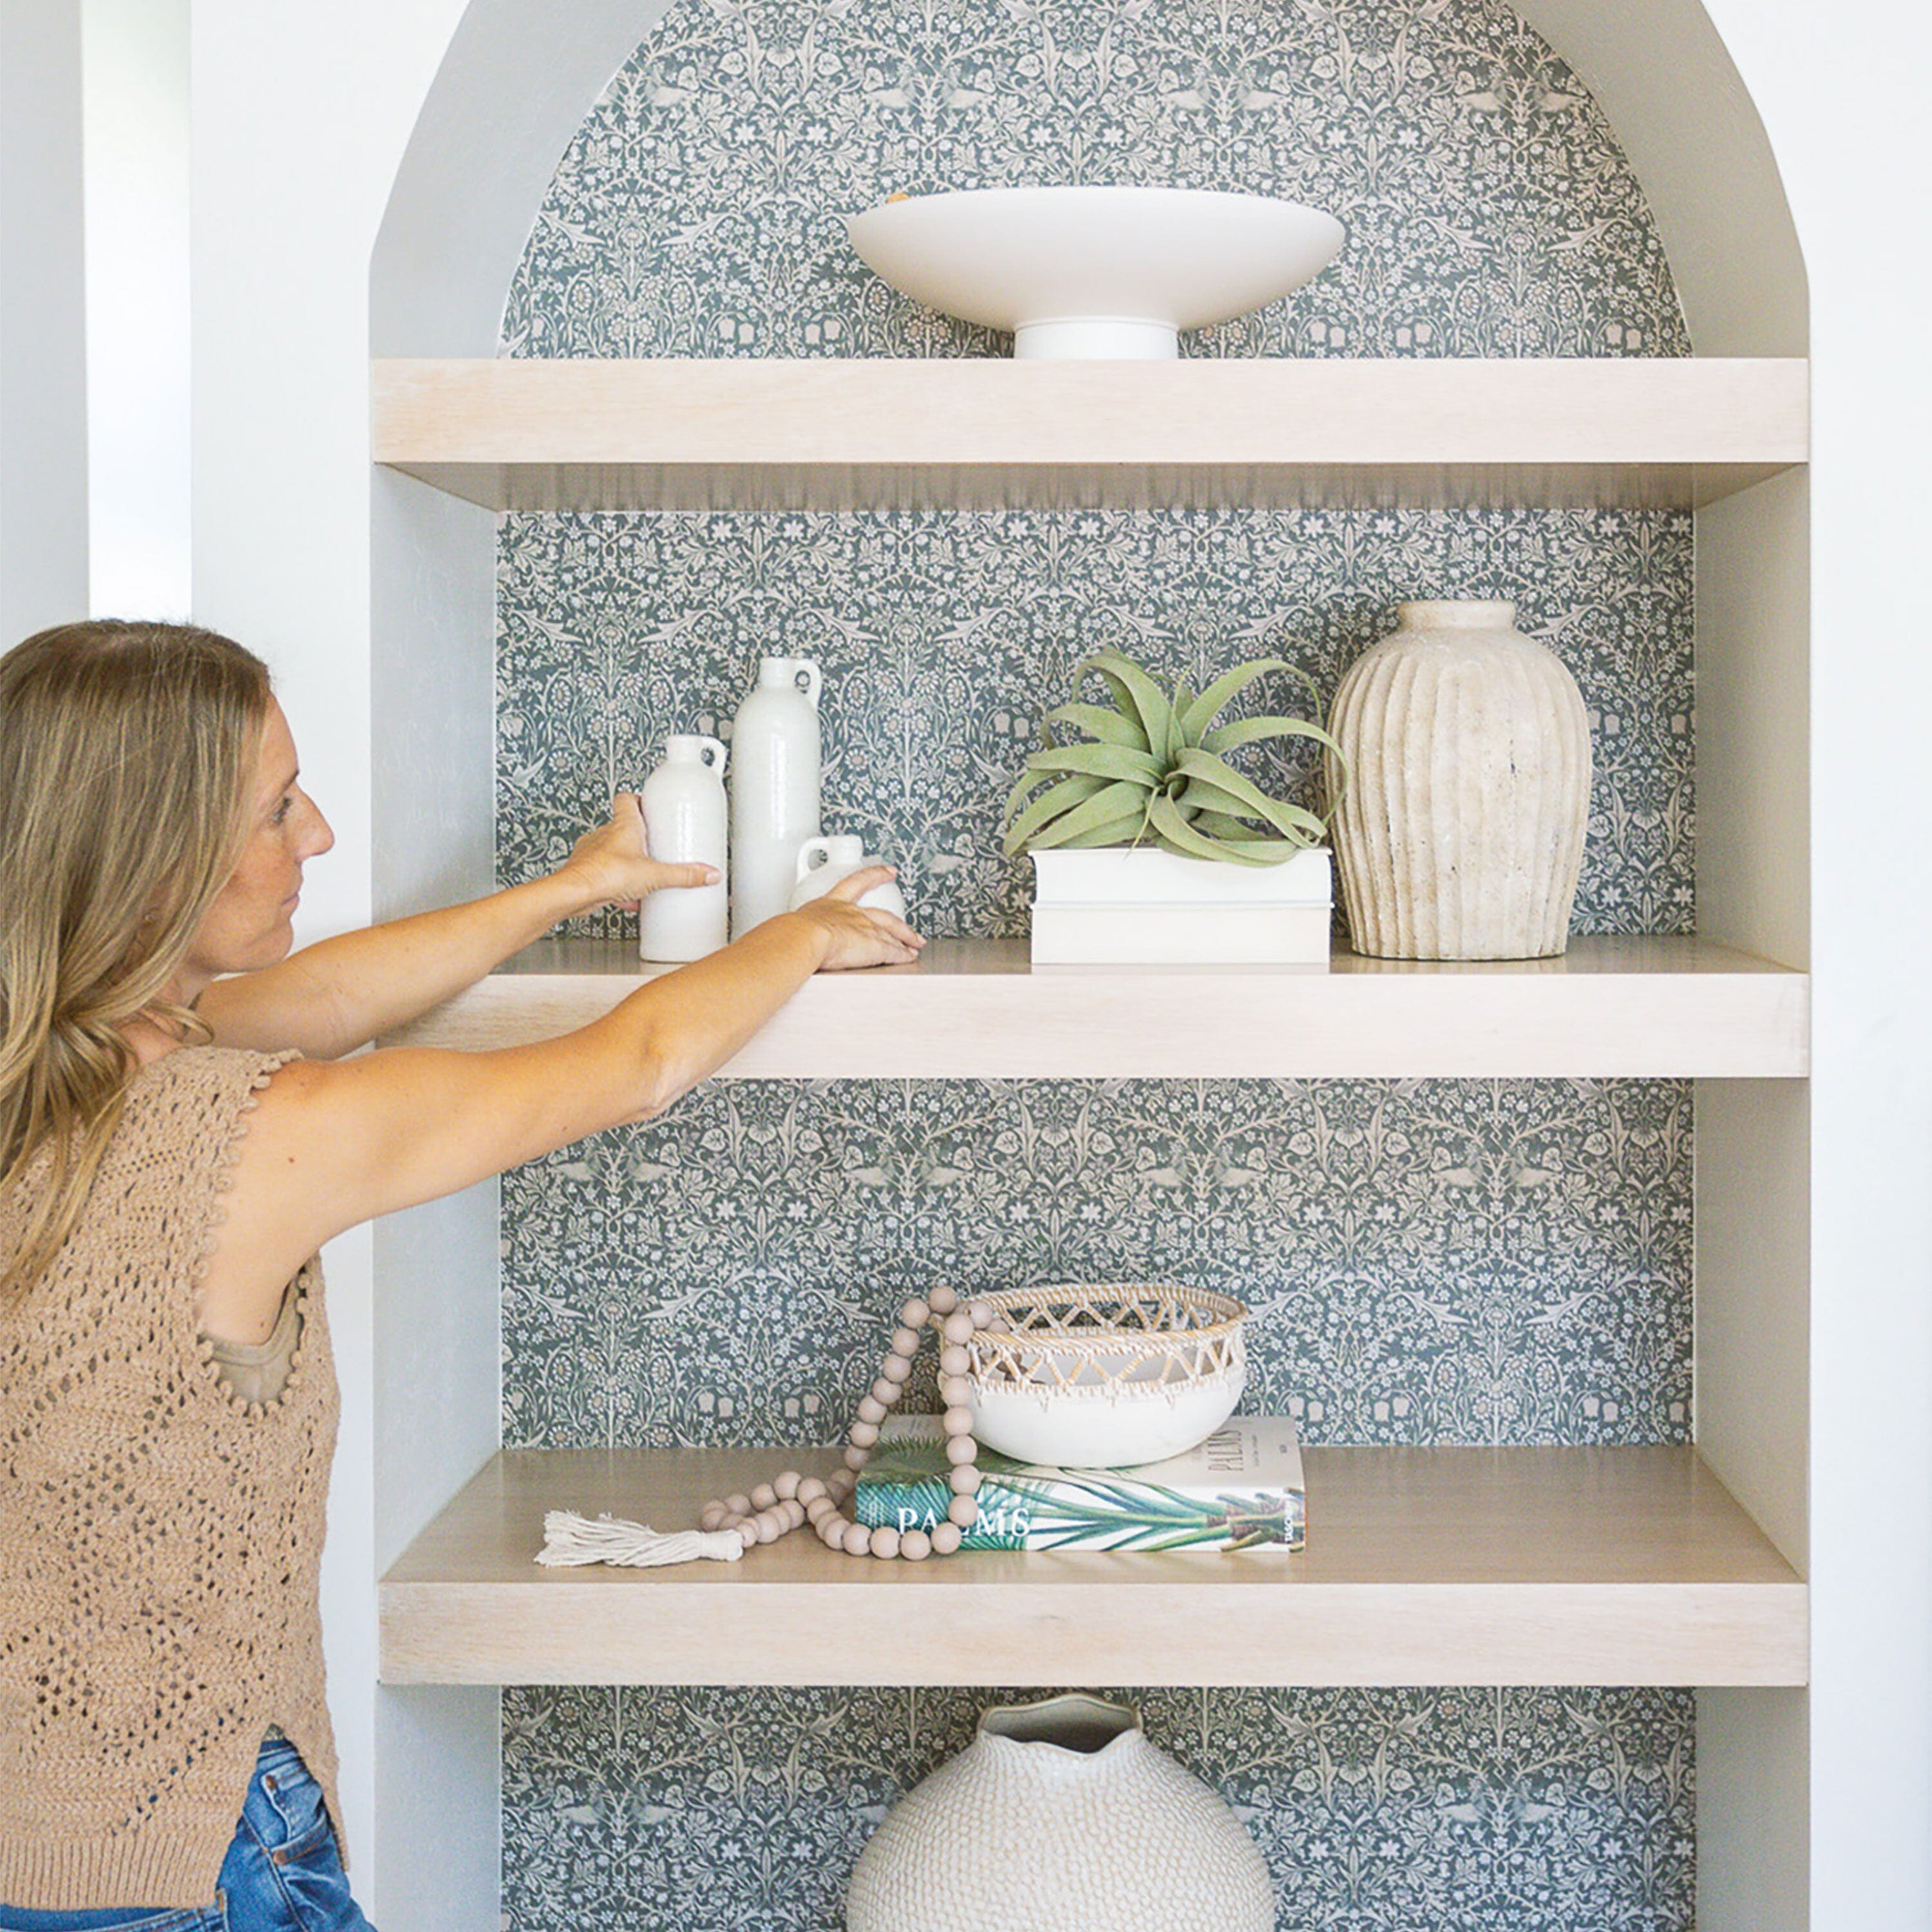
If you're looking for a way to add some character and personality to your space, look no further than your bookshelf. Yes, that’s right—your bookshelf! In this blog post, we're diving into a fun and easy DIY project: adding removable wallpaper to an arched bookshelf. Whether you're a seasoned DIYer or just dipping your toes into the world of home decor, this project is sure to be a hit. Plus, it’s a great way to refresh your space without committing to something permanent.
Why Wallpaper Your Bookshelf?

Before we get into the step-by-step process, let's talk about why you might want to wallpaper your bookshelf in the first place. A bookshelf is more than just a place to store your books; it's a focal point in any room. Adding wallpaper to the back of your shelves can instantly elevate the look of the entire space. It adds depth, character, and a custom feel that’s hard to achieve with just paint or wood finishes. Plus, it’s a super fun way to express your style and change things up with the seasons!
Choosing the Right Wallpaper: Textured Substrate for the Win

For this project, we opted for our removable textured wallpaper panels. The texture has a beautiful canvas-like finish that adds an extra layer of sophistication to the design. We love using our textured substrate for projects like this because it’s not only easy to work with, but it also provides a high-end look that’s perfect for DIYers who want to make a statement.
What You’ll Need
Here’s a quick rundown of the tools and materials you’ll need to get started:
- Removable textured wallpaper panels (choose a design that complements your decor)
- Tape measure (to measure the height and width of each shelf)
- Box cutter or utility knife (for cutting the wallpaper)
- Squeegee (to smooth out any bubbles)
- Pencil (for marking your measurements)
- Painters tape (optional, to temporarily hold panels in place)
Step 1: Measure Your Shelves
First things first: measure the height and width of each shelf. This step is crucial because you want your wallpaper panels to fit perfectly within the arch. Measure twice to ensure accuracy, and jot down your measurements. Our arched bookshelf perfectly fit two panels side by side, making it easy to create a seamless appearance.
Step 2: Cut Your Wallpaper Panels

Next, take your wallpaper panels and cut them according to your measurements. Since we used a textured substrate, cutting was a breeze. If you’re working with a patterned wallpaper, be sure to line up the design so that it flows seamlessly from one panel to the next. Use your box cutter or utility knife to carefully trim away any excess material.
Step 3: Align and Apply the Wallpaper
Now comes the fun part: applying the wallpaper! Start by peeling off the backing from one of your panels. Carefully align the panel with the edge of the shelf, making sure it’s straight. If you’re using painters tape, you can temporarily tape the panel in place before fully adhering it to the shelf. Once you’re happy with the placement, press the panel onto the shelf, starting from the top and working your way down.
Step 4: Smooth Out Bubbles
As you apply the wallpaper, use your squeegee to smooth out any bubbles that may form. Start from the center of the panel and work your way outwards. This will ensure a smooth, professional-looking finish. If you do encounter any stubborn bubbles, gently lift the panel and reapply, smoothing as you go.
Step 5: Trim the Excess

After the wallpaper is applied and smoothed out, use your box cutter to trim away any excess material around the edges. Be sure to go slowly and carefully to avoid cutting into the shelf itself. Once all the excess is removed, you should have a perfectly wallpapered shelf with a clean, polished look.
Step 6: Style Your Shelves
Now that your wallpaper is up and looking fabulous, it’s time to style your shelves! Whether you’re displaying books, decor, or a mix of both, the wallpaper will provide a stunning backdrop that makes everything pop. We put back all of our merch and styling pieces, and the difference was night and day. The wallpaper added so much character and depth to the shelves, giving them a custom, high-end feel.
CLICK HERE and watch how effortlessly you can refresh your room with our peel-and-stick wallpaper. A new look is just minutes away!

The Best Part: It’s Removable!
One of the best things about this project is that it’s completely removable. If you ever get tired of the design or want to change it out with the seasons, you can easily peel the wallpaper off and start fresh. It’s a low-commitment, high-impact DIY that anyone can do.
Final Thoughts: A Fun and Impactful DIY
Adding wallpaper to an arched bookshelf is such a fun and impactful DIY project that can transform the look of any room. It’s a quick and easy way to add a touch of personality and style to your space, and the best part is that it’s completely removable. So go ahead, give it a try, and watch your shelves go from bland to beautiful in no time!

Ready to give your bookshelf a makeover? Explore our collection of removable textured wallpaper panels and find the perfect design to suit your style. Your bookshelf transformation is just a few clicks away!


