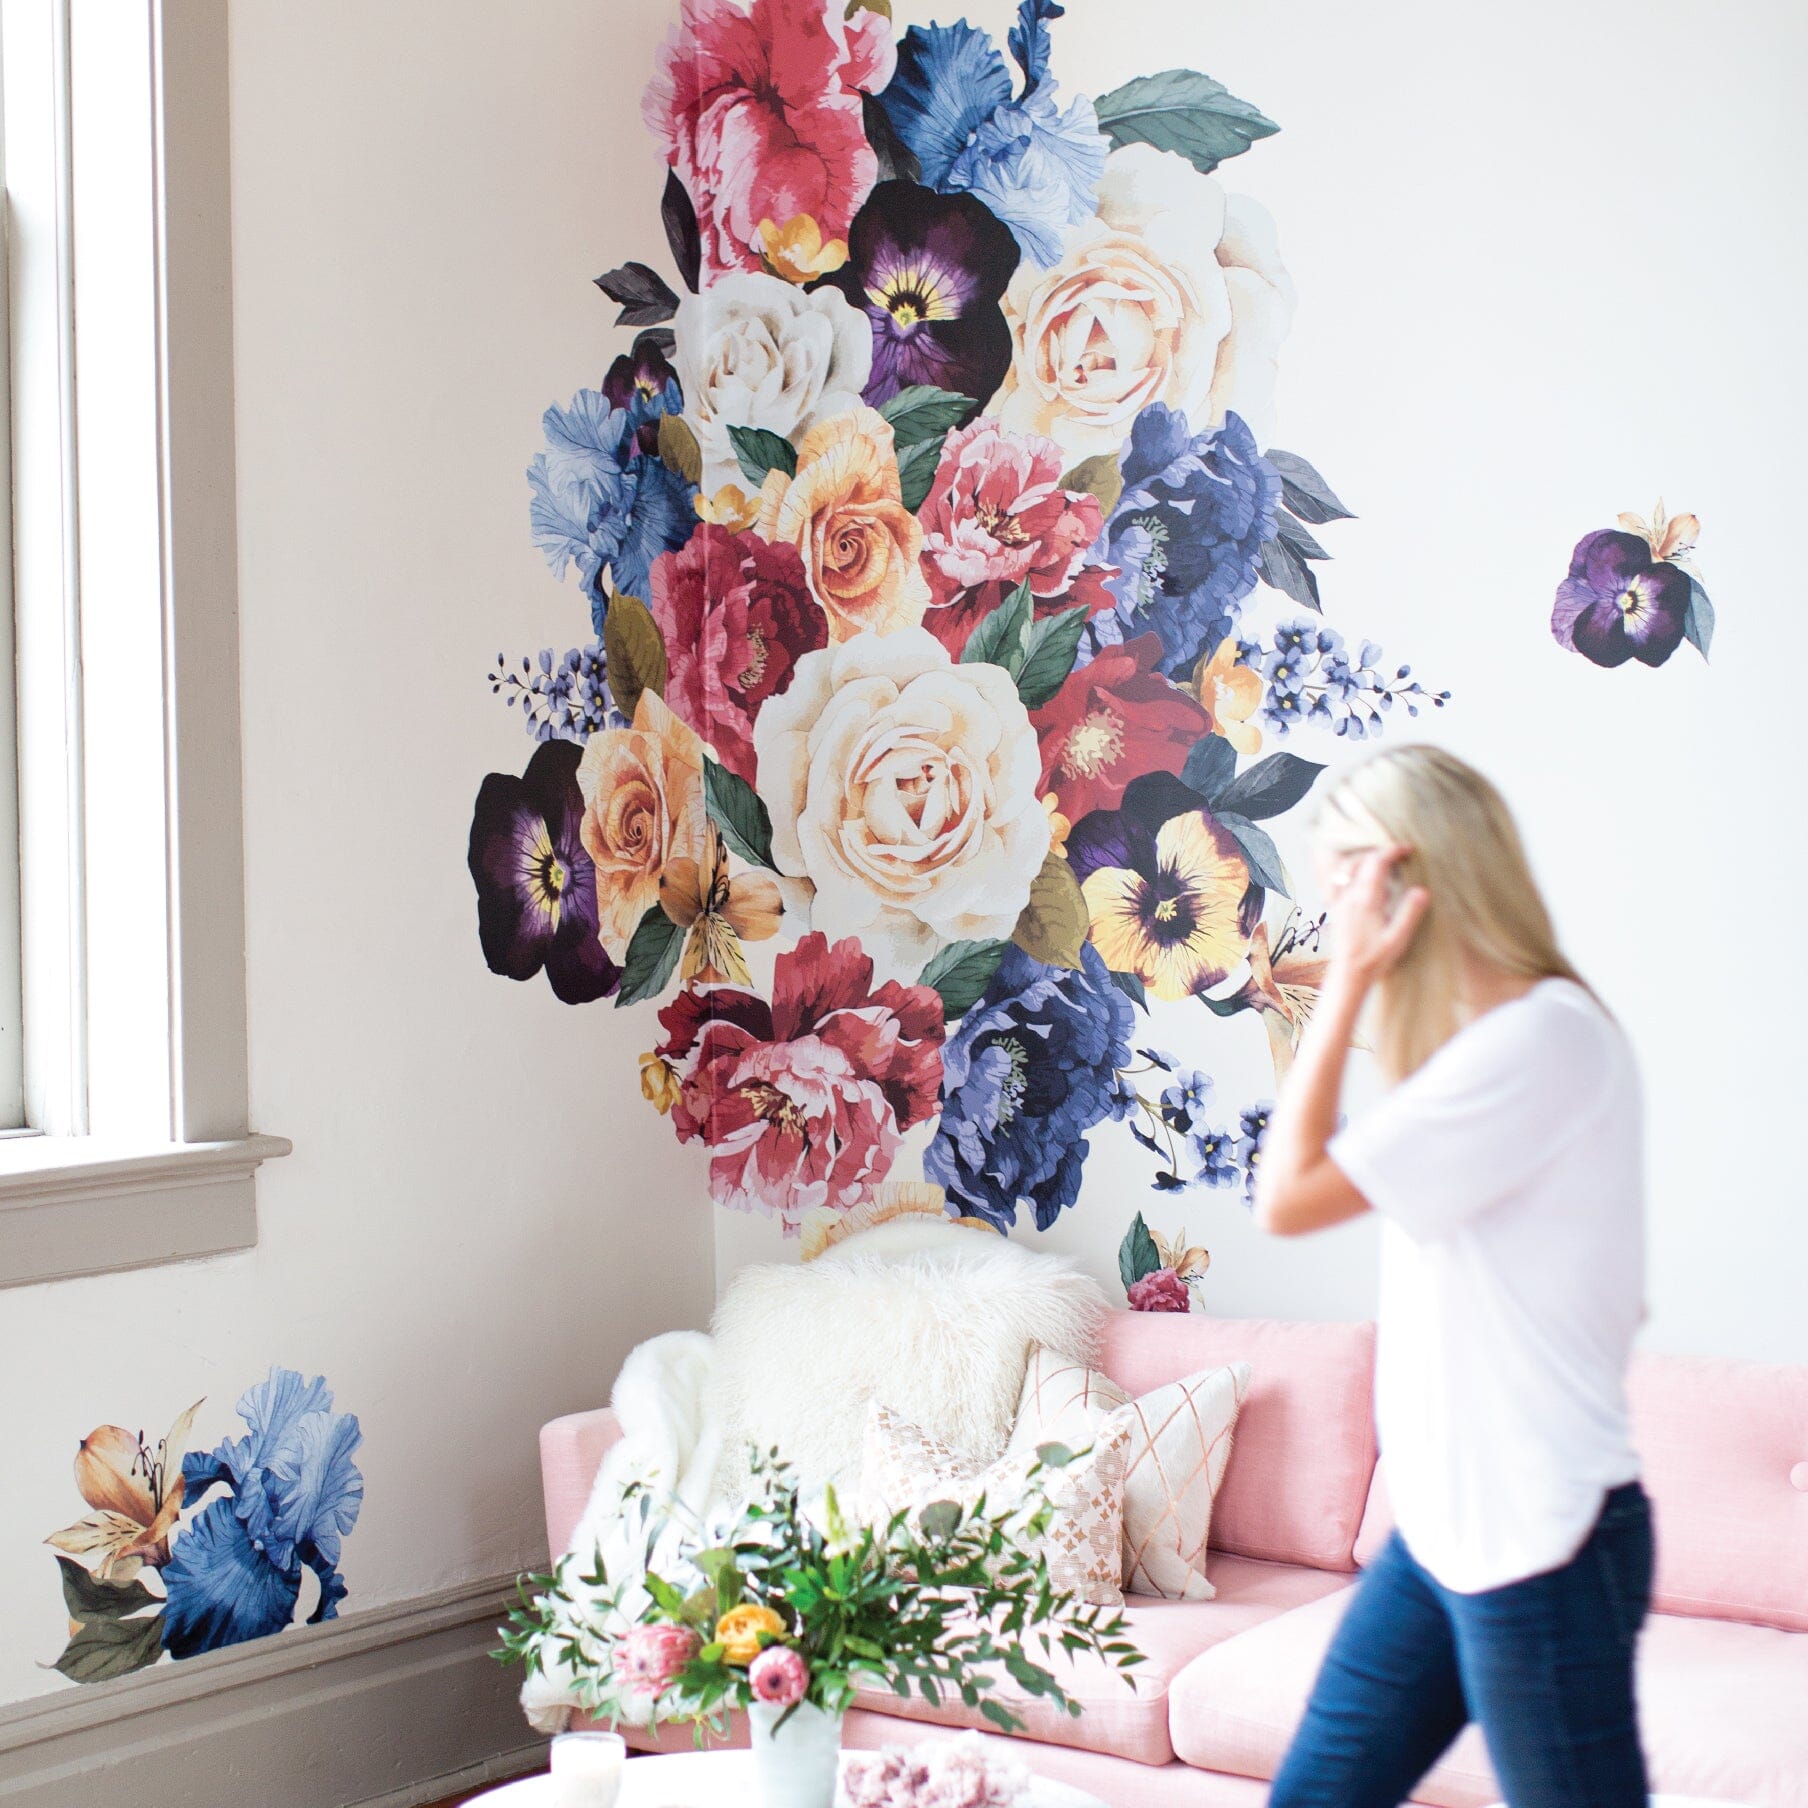
Have you seen our new Vintage Floral decals? We’ve been pretty obsessed with them, so if you follow us on Instagram or have visited the website lately, chances are you’ve seen the gorgeous blooms cascading their way down the corner of our studio.
But this decal pack is unique because it offers the opportunity to layer the flowers for a bouquet effect. So, we decided to give you a little 3-step tutorial to help you achieve the same look. Because who doesn’t want a bouquet that never dies?!
1) Arrange
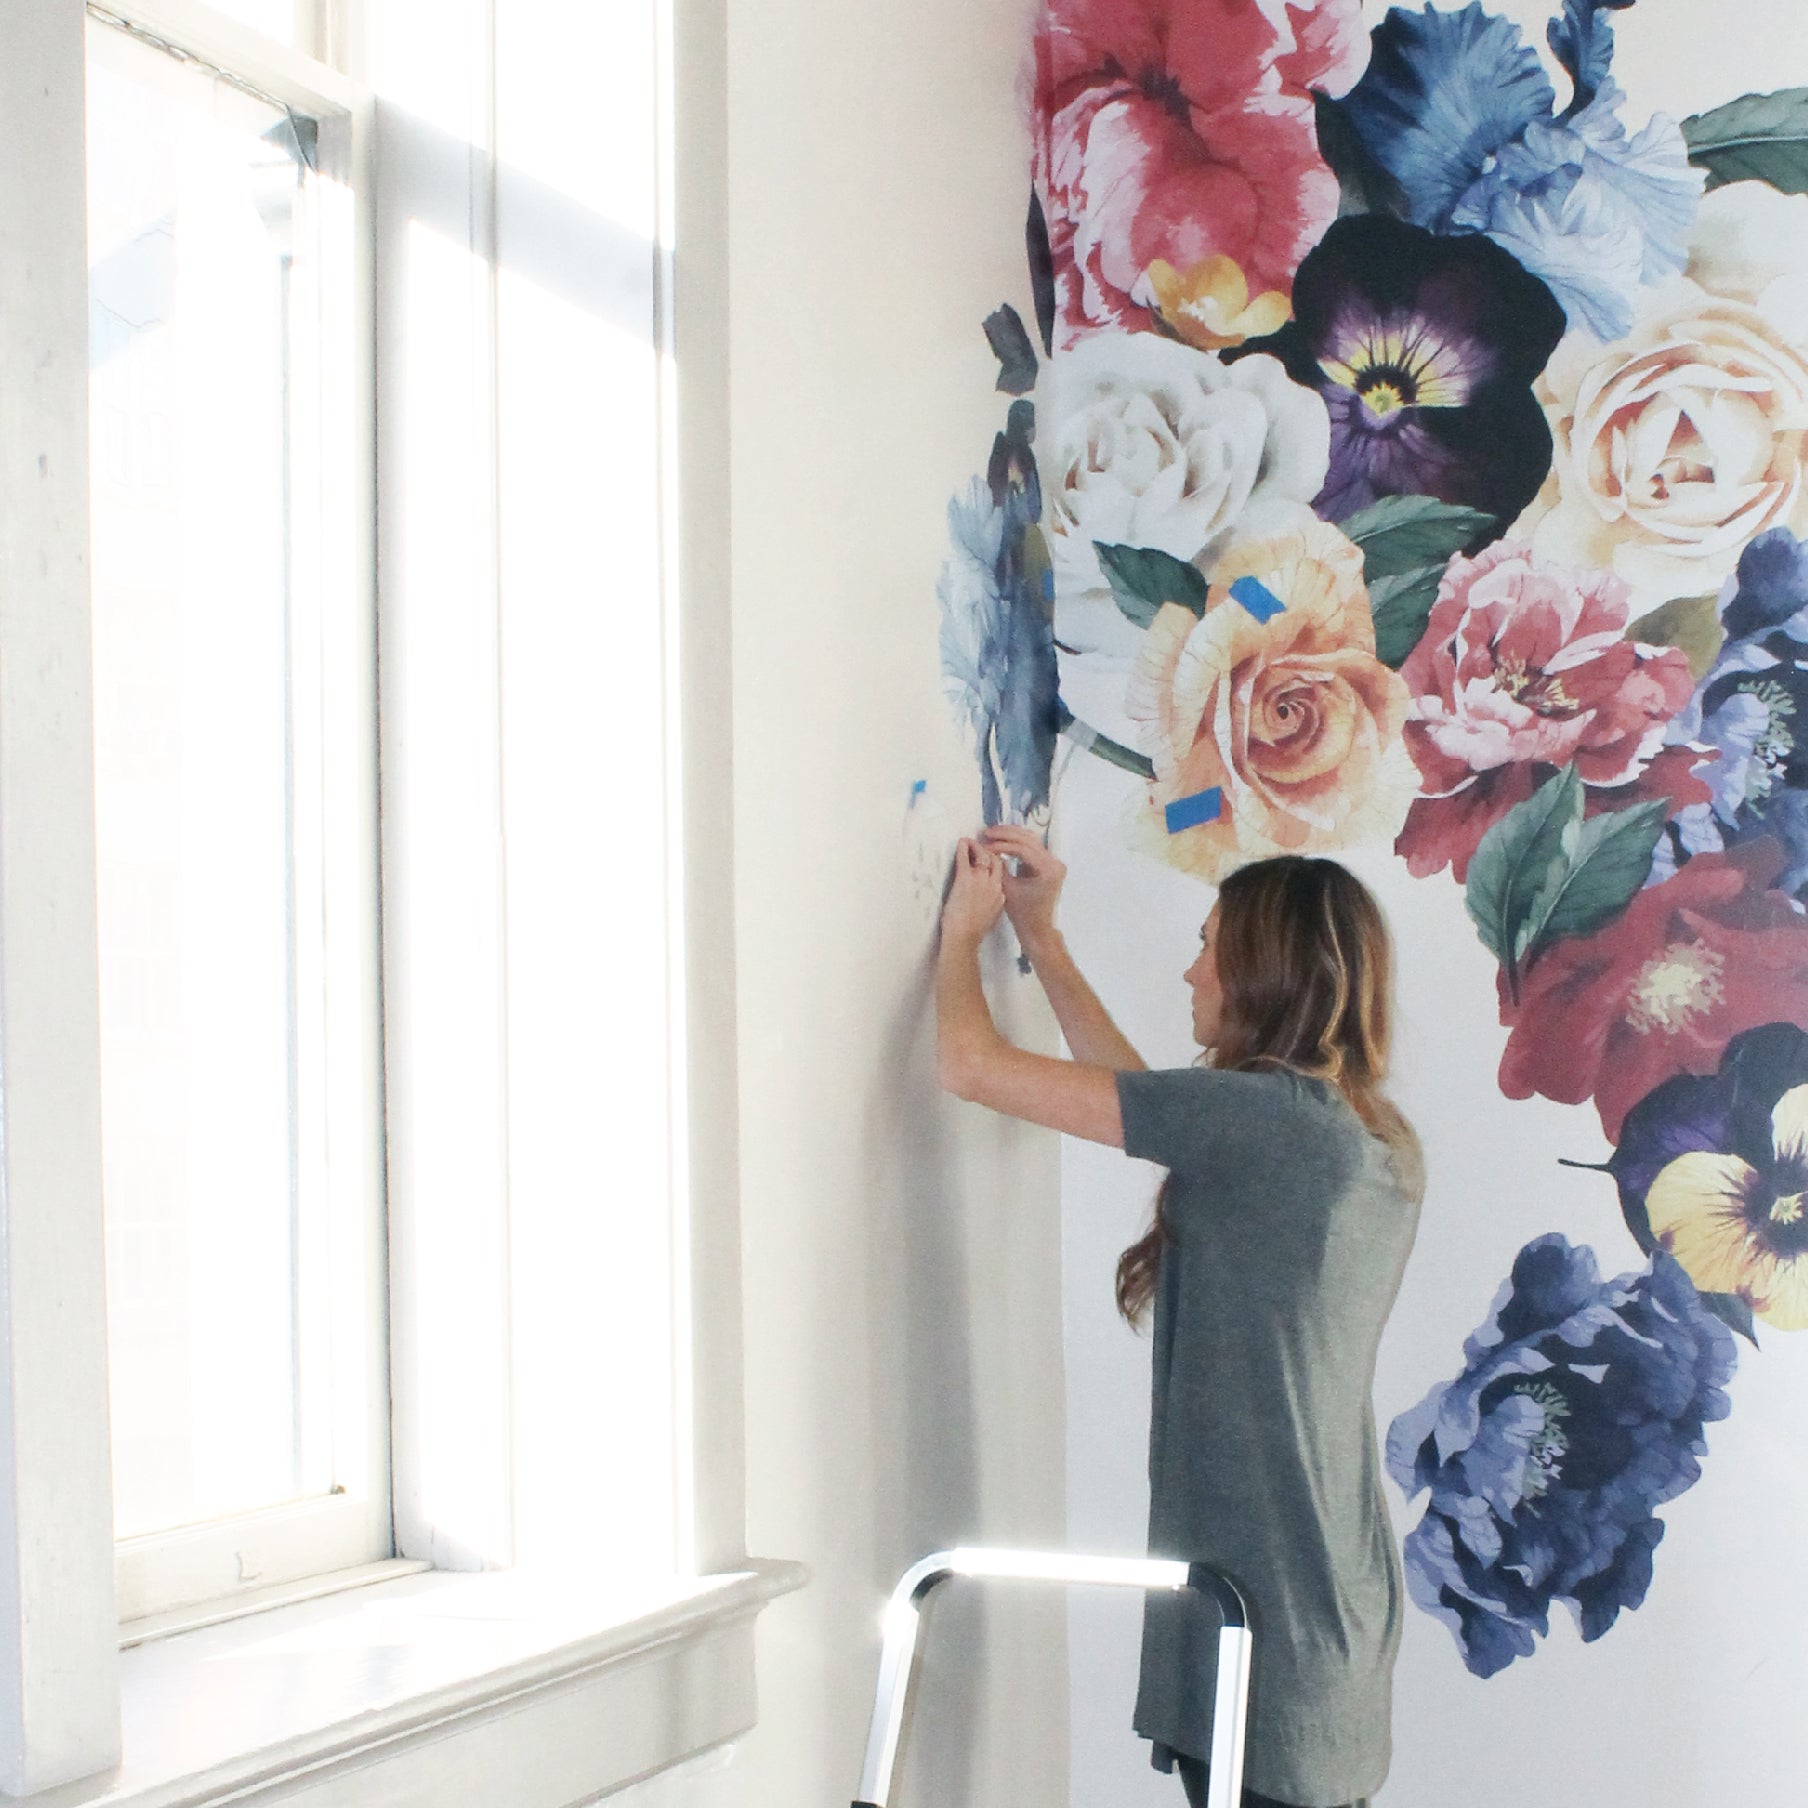
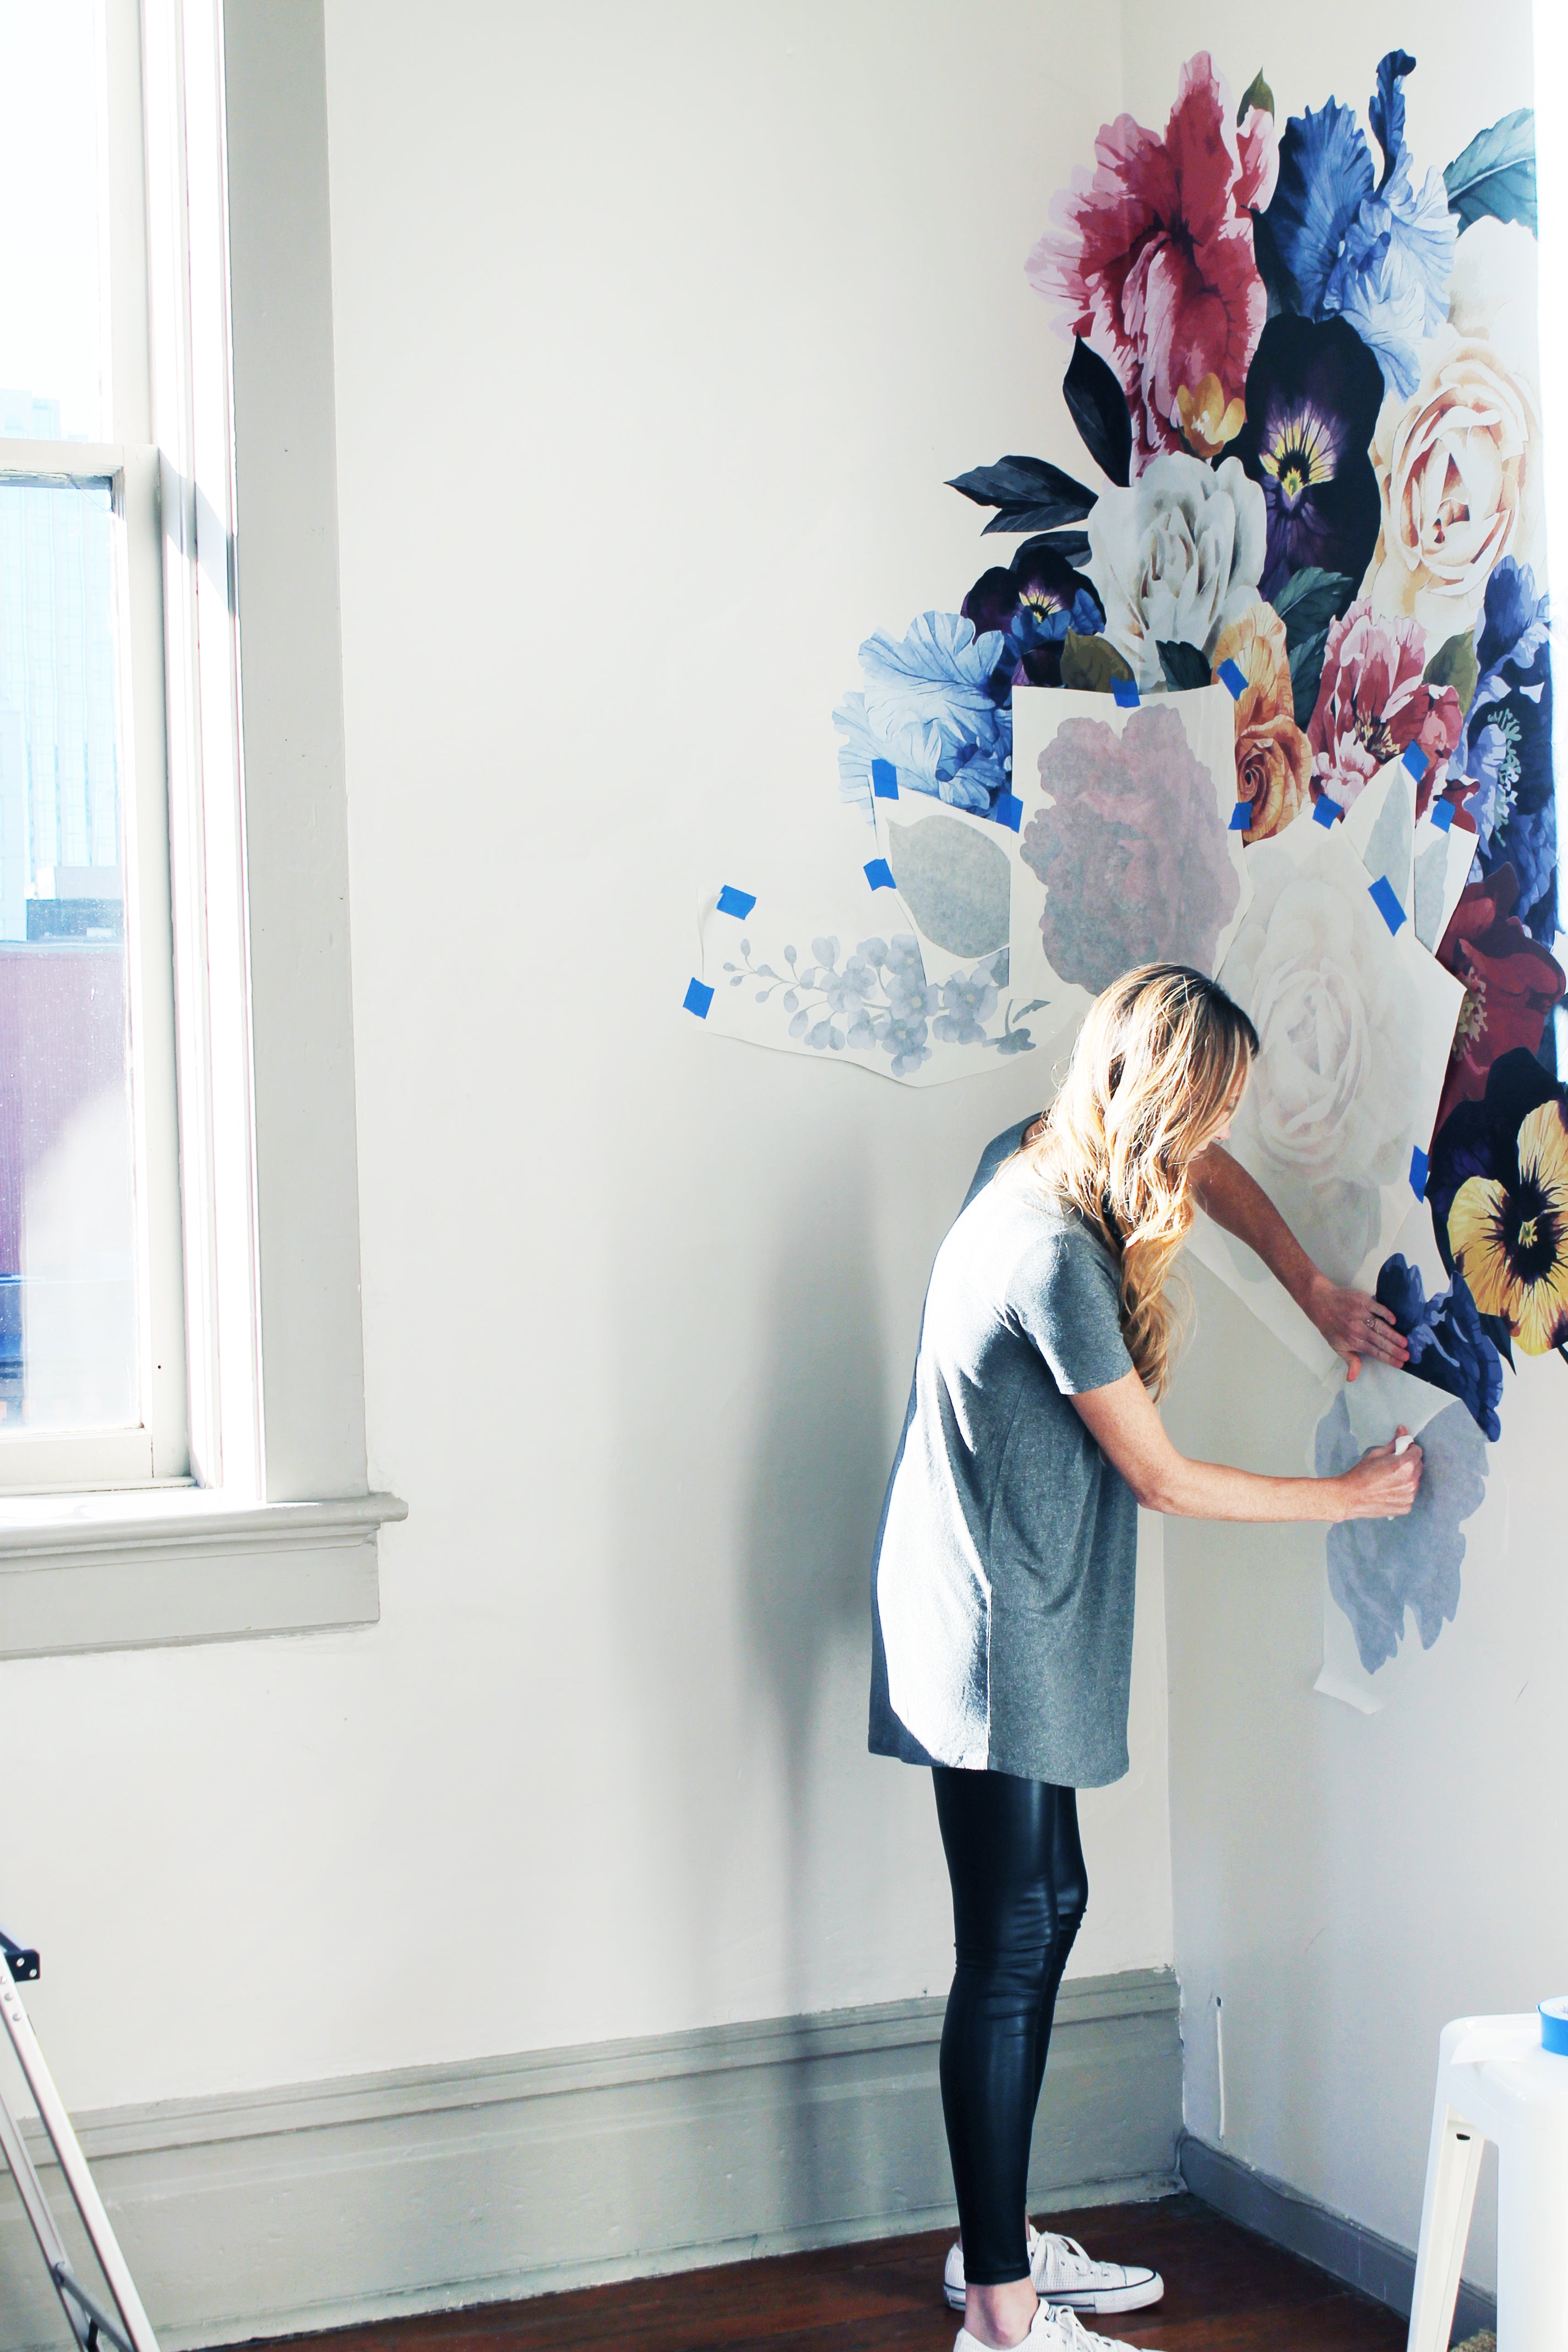
Pick a wall, any wall! We chose a well-lit corner for an asymmetrical design, but feel free to get creative. After you’ve landed on the portion of wall you’d like to use, arrange the blooms in the space by taping them using painters or masking tape. This allows you to rearrange your design before permanently sticking it.
After one bloom is taped to the wall, choose another, layering and spacing as you wish until your design is complete.
2) Peel
Are you happy with your design? Can you almost imagine the bouquet’s sweet perfume? If the answer is yes, it’s time to peel the adhesive back from your decals. Keeping the bloom tacked to the wall, lift the decal so you can see the back. Starting in a corner, slowly peel the back from the decal to expose the adhesive. As you pull, stick and smooth the decal to the wall, slowly working your way to the bottom.
Now peel the front paper from the flowers, exposing their true colors! Remember to remove the paper slowly.
3) Smooth
Taking a credit card or squeegee, smooth any bubbles out of your blooming bouquet. You’re all finished! I guess we should have added a fourth step called “Admire”, huh? We’d love to see your process photos or your finished product!
Tag #thesearemyurbanwalls on Instagram so we can see your take on one of our new favorites!


