We’ve always said that you could design a mural of your own making using any number of our decals. But we’ve never shown you how it’s done…until now!
Promise Tangeman, design superstar, girlboss, and owner of GoLiveHQ, masterminded an eclectic mural full of decal Easter eggs in her home office space. She shared the process on her own blog, but we wanted to bring you the details right here, right now! Ready to create a mural with your own flavor? Let’s take a look at how Promise did it…
1. Measure Walls & Order Decals
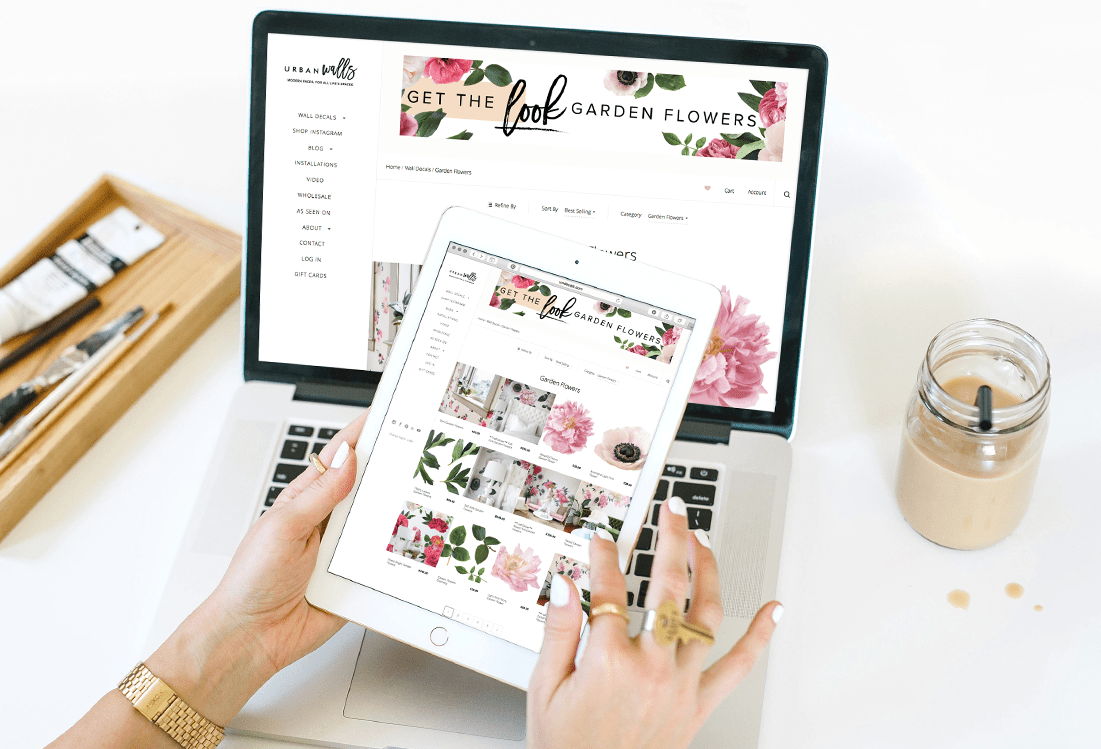
Promise knew what she was doing when she took exact measurements of her designated mural wall before ordering her decals. It’s important to take into consideration the size you have to work with before ordering your decals. After perusing a lot of sites, we are so glad that she fell in love with the fun and quirkiness of our Mixed Pink Garden Flowers & our Full Color Flamingo decals!

2. Install Wall Panels
Before she did anything else, Promise applied the wall panels she ordered from Kirath Ghundoo. While we offer decals, this company offers big sheets of wallpaper-type panels with a similar application process to our decals (no paste!). Promise applied her wall panels around the edges of her mural wall to achieve a framed look.

3. Paint a Messy Foundation
In her blog, Promise states that she thought creating an “artful mess” as a base painting would bring a strong dynamic to the mural. A true creative visionary, she used grey paint mixed with water so that it would drip down the wall. She also hand-painted a black and gold flourish for an accent with a pop. The most fun part? Promise then watered down some black paint and went crazy splattering the wall!

4. Place the Decals
Just like we always tell you, use painters tape to tack your decals in place before sticking! This allows you to ensure that you have everything just where you want it before the real install. Promise found that it was helpful to place her decals in a few different formations before making the final decision. Don’t forget, you can watch our tutorial video for further instruction!

5. Install the Decals
After you’ve landed on the perfect placement, just peel and stick! That’s all there is to it, babes!
What do you guys think of Promises’ gorgeous creation? Have you tried something similar? We’d love to see any photos from your own mural installs by uploading them to Instagram and tagging @urbanwalls and #thesearemyurbanwalls.


