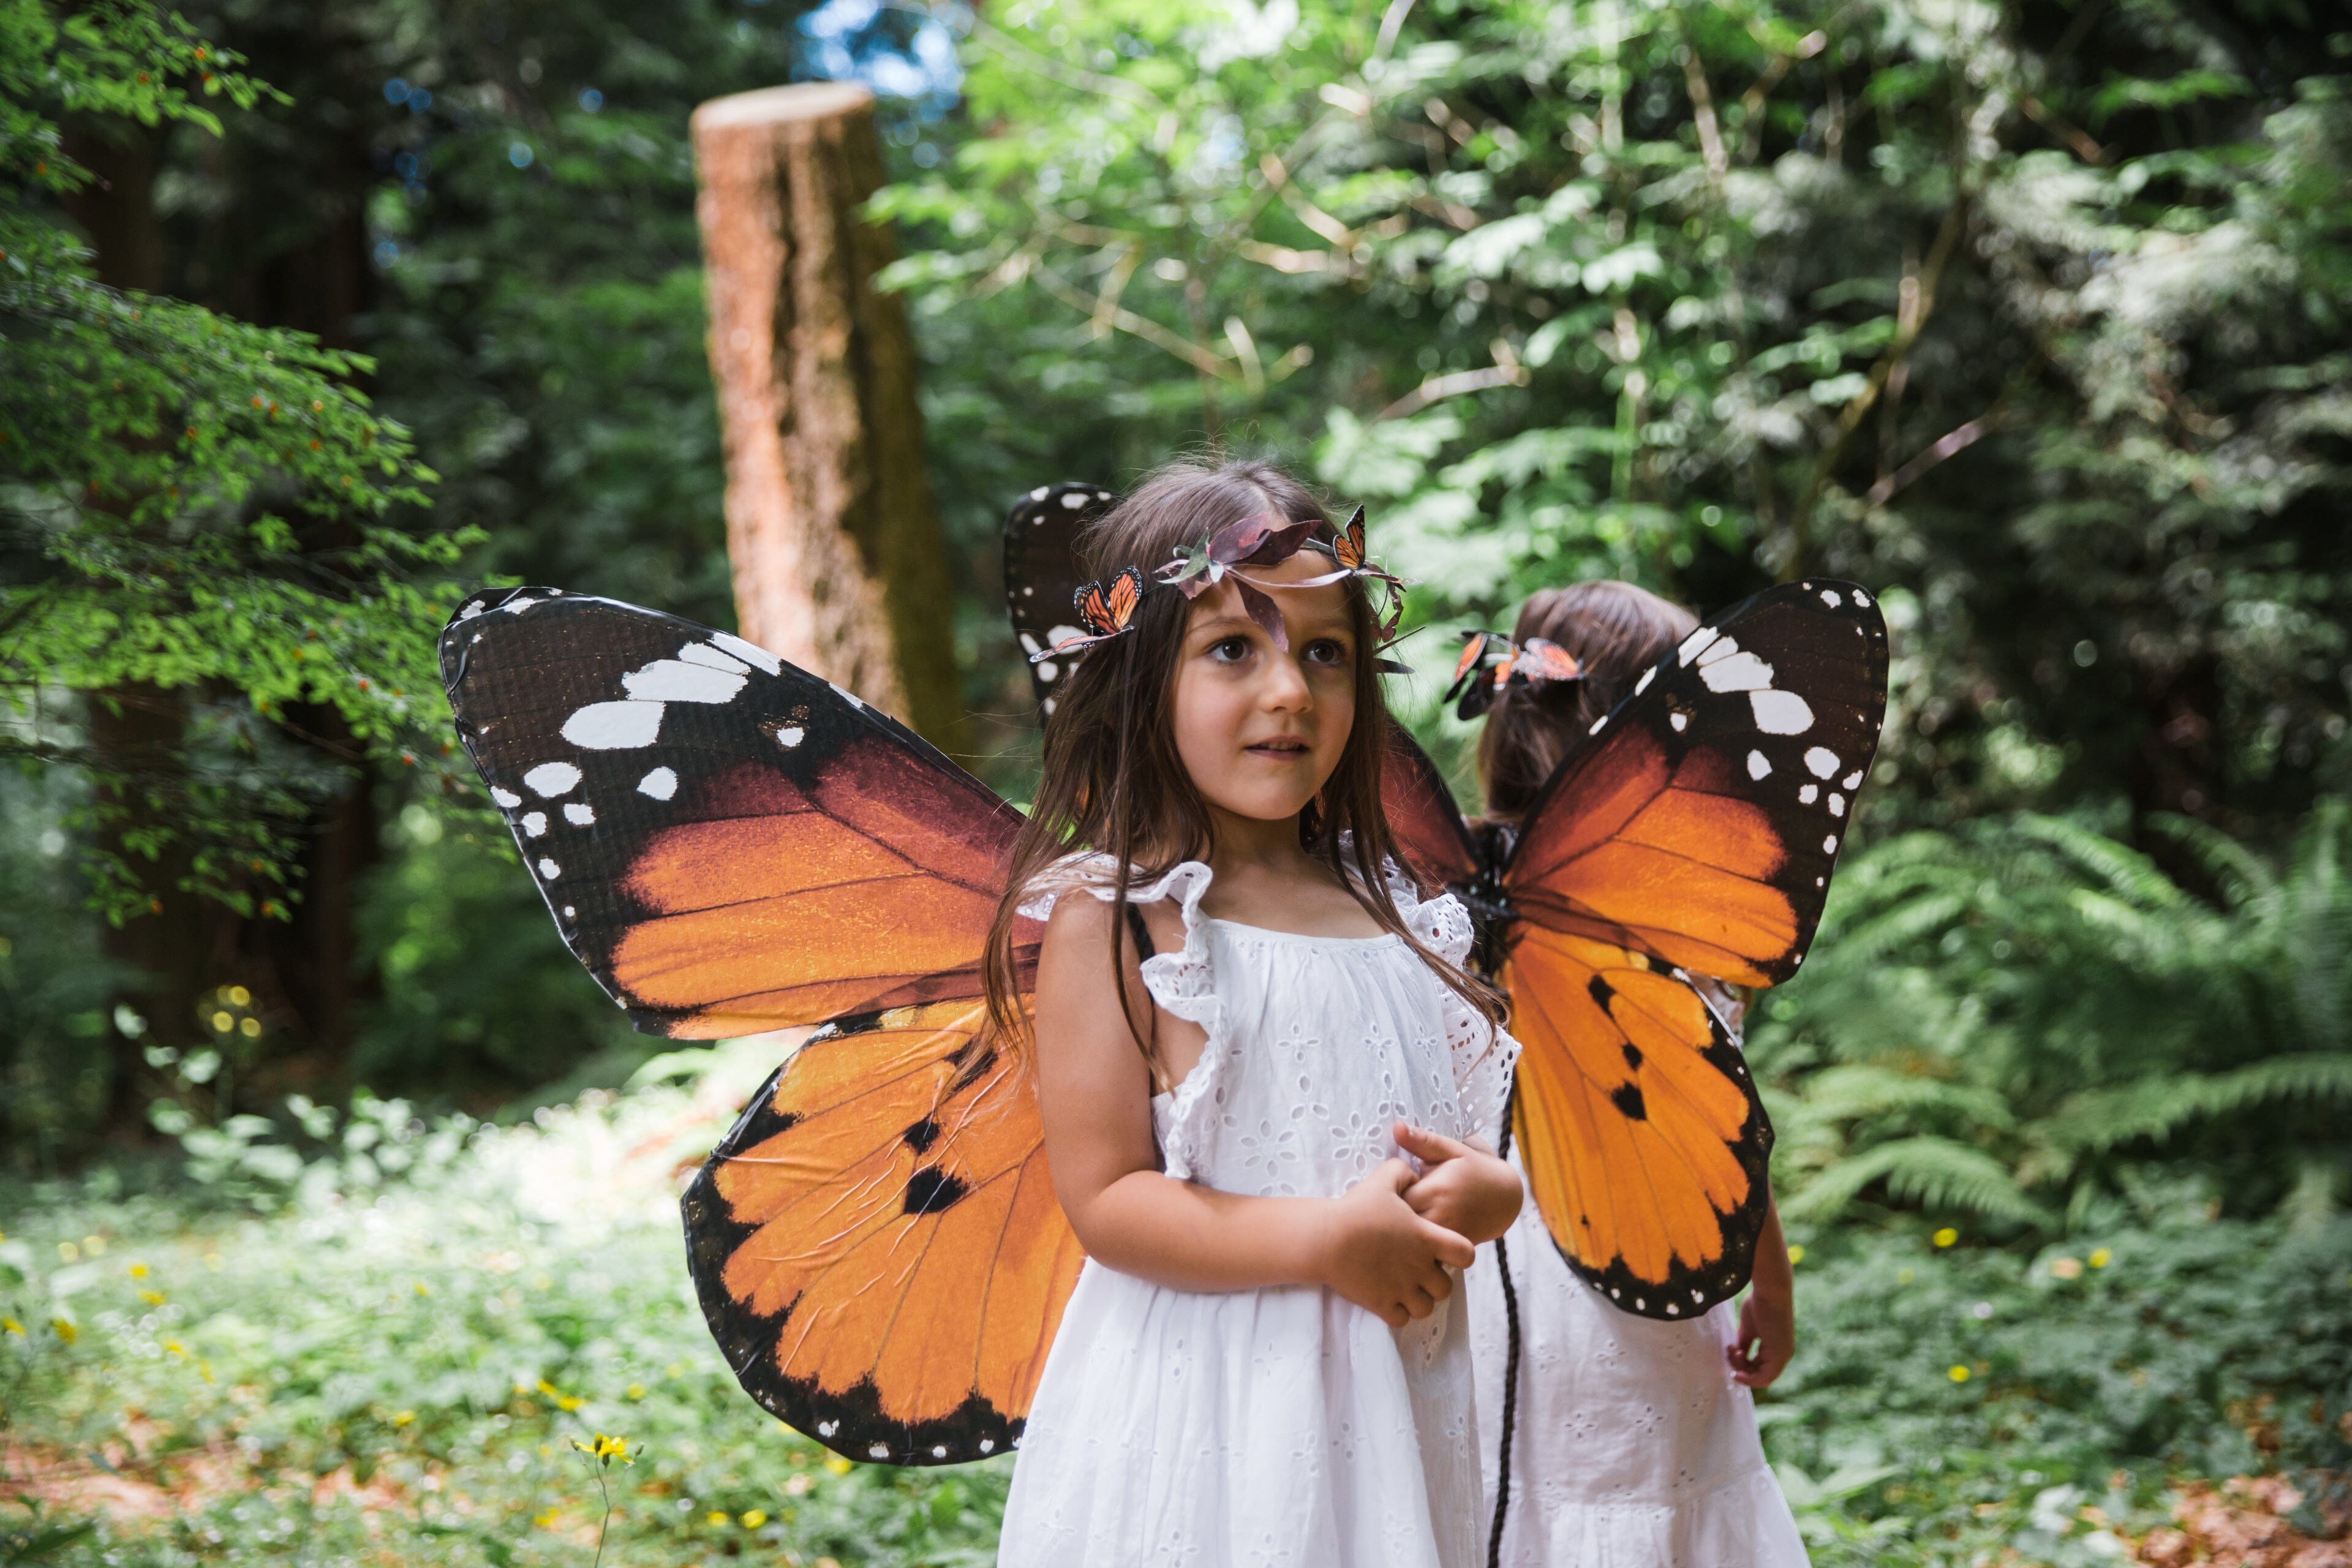
Materials required: scissors/exacto blade, a large piece of cardboard, old credit card or plastic squeegee, rope or string (for the straps)
Step 1: Order our Fairy Wings Decals!
Step 2: Once your decals have arrived, lay the decals out on a flat work surface.
Step 3: Begin costume creation by peeling the white backing from one of the wings at a 45° angle. Once the wing is free, stick the decal to your large sheet of cardboard.
Step 4: Smooth the decal onto the cardboard, using a squeegee or credit card to ensure there are no bubbles. After the wings are stuck, slowly peel the top transfer tape away from the decal at a 45° angle.
Step 5: Cut the cardboard around the decal using scissors or an exacto blade, getting as close to the wings as possible. With our design, we decided to cut off the butterfly antennas, but feel free to get creative with your wings!
Step 6: Flip the cardboard over, and place the remaining decal on the back side of wings. (Repeat steps 3 & 4.) Carefully trim the edges until you are happy with the front and back designs.
Bonus step: Our customer service representative Kait is mastermind with woodworking! To fold the wings on our little models’ backs, Kait folded the cardboard in half and hot glued a small bracket to the cardboard. This step is not required, but allows for more natural wing movement.
Step 7: Attach rope or string to the wings, wherever is most comfortable for your little butterfly.
Do you know any little butterflies dressing up for Halloween? We’d love to see photos! Tag us at @urbanwalls if you tried our costume DIY or put your own spin on it!


